.acryl.io`). Enter it once and the OAuth flow redirects you to your tenant's login, then back to the client — fully authenticated, no token copy-paste required.
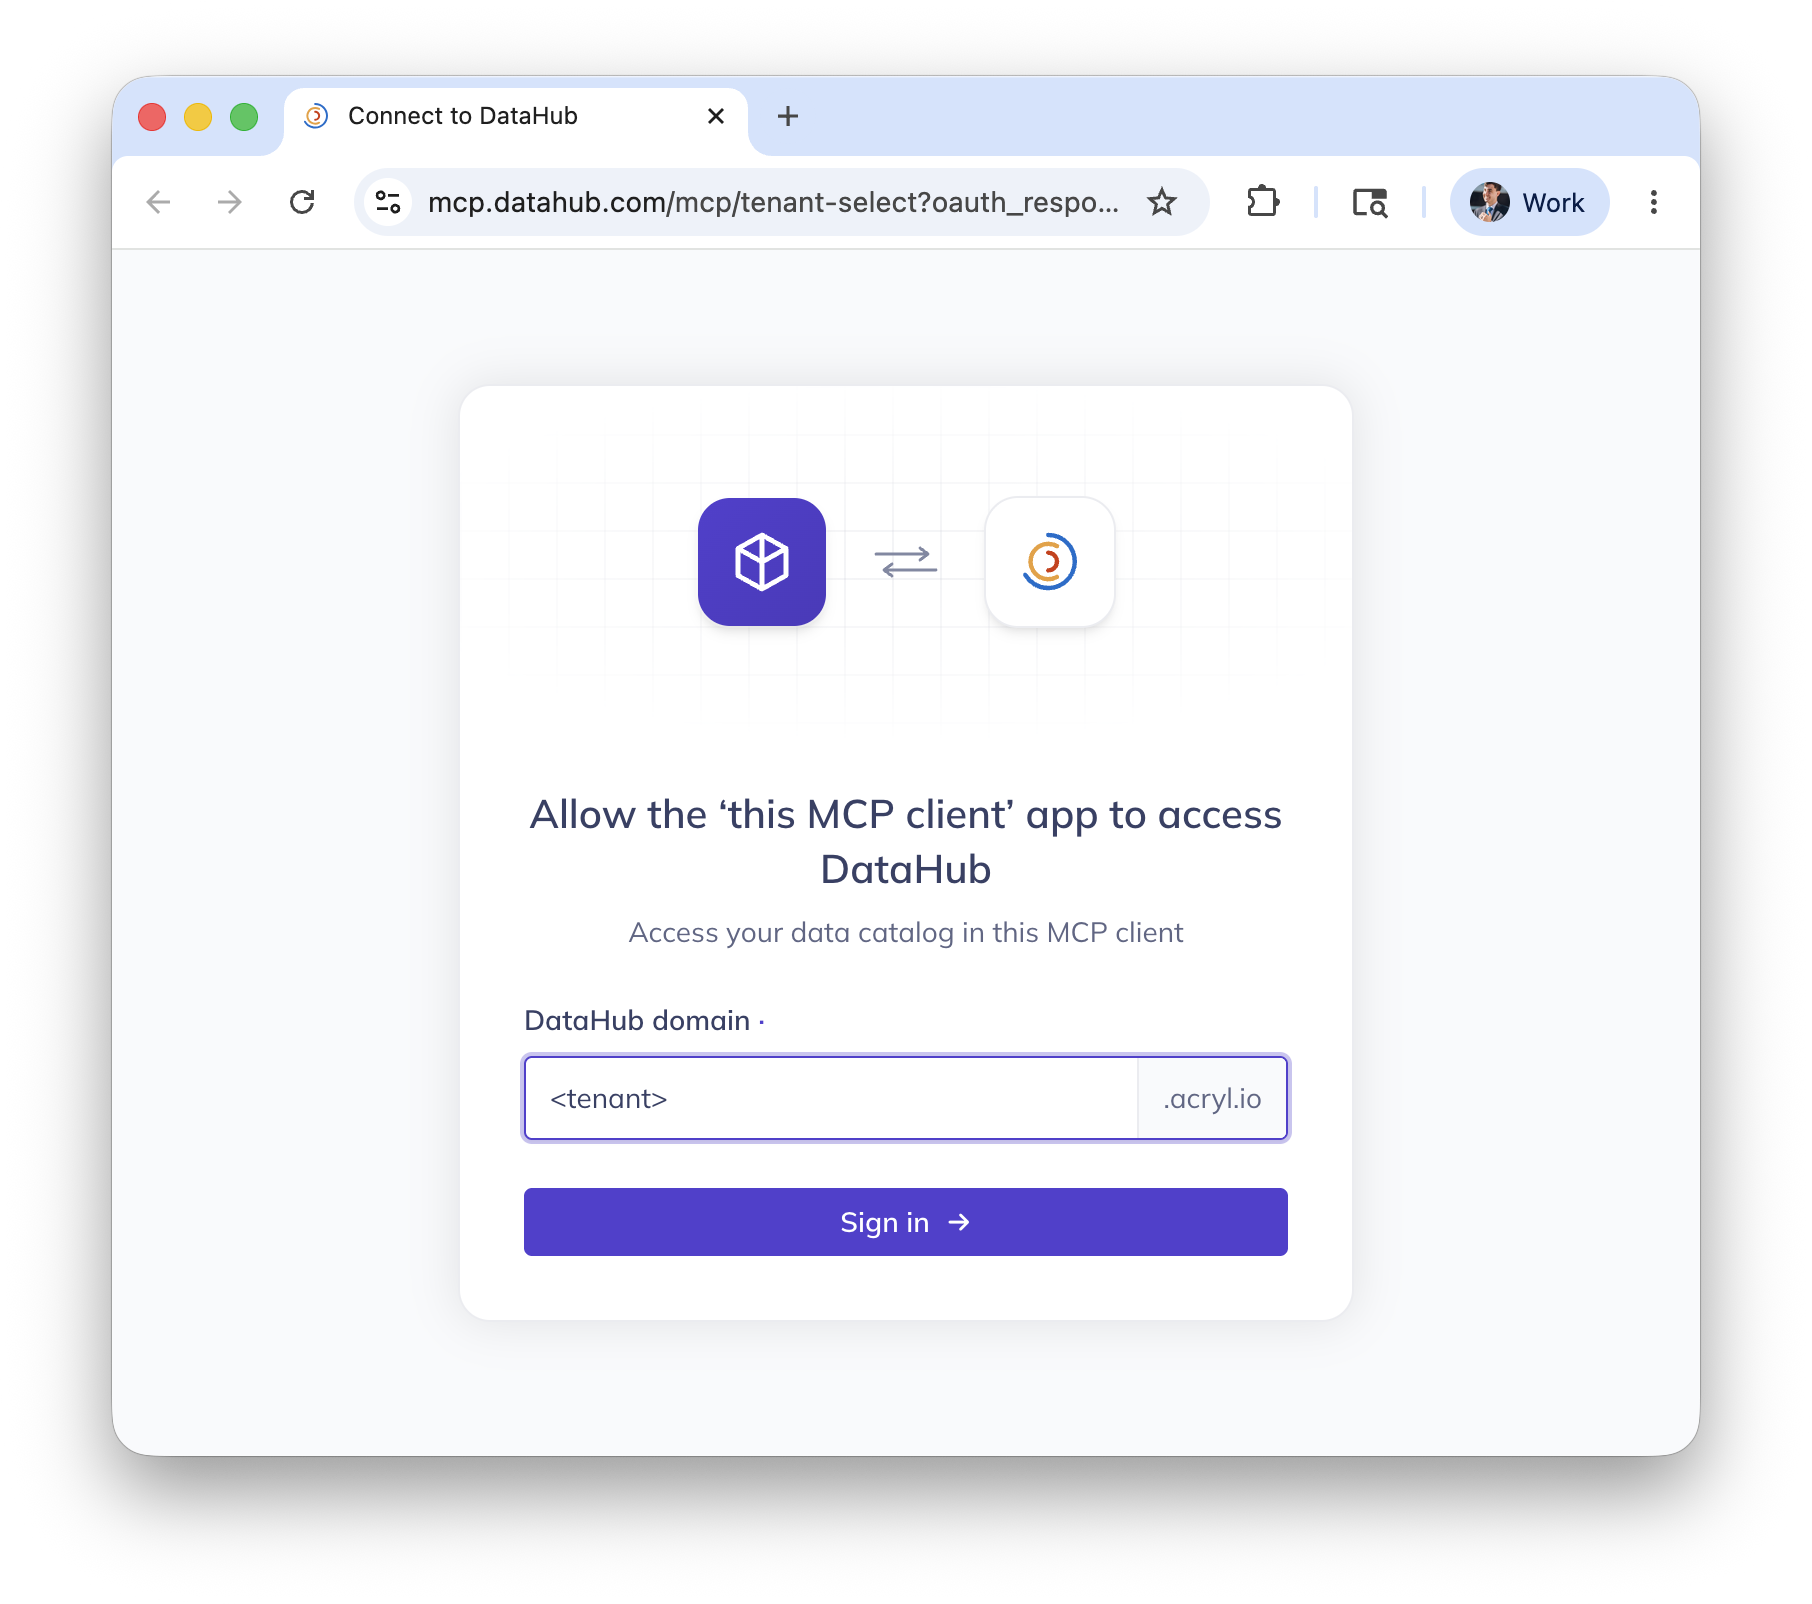
[▶ Video](https://raw.githubusercontent.com/datahub-project/static-assets/main/imgs/features/feature-guides/mcp/mcp-demo.mp4)
**Use your direct tenant URL instead**
If you'd rather skip the domain prompt at `mcp.datahub.com`, you can point clients directly at your tenant:
```
https://.acryl.io/integrations/ai/mcp
```
This endpoint also supports OAuth2 + DCR. The only difference is that `mcp.datahub.com/mcp` is a single shared URL you can hand out without knowing the tenant ahead of time — handy for marketplace listings or shared docs.
For on-premises DataHub Cloud, use your DataHub FQDN, e.g. `https://datahub.example.com/integrations/ai/mcp`.
### Configure Your Client
**Claude (web, desktop, mobile)**
1. In claude.ai or Claude Desktop, open **Settings → Connectors** (Team/Enterprise: **Organization settings → Connectors**).
2. Click **Add custom connector**.
3. Name: `DataHub`. Remote MCP server URL: `https://mcp.datahub.com/mcp`. Leave the **Advanced settings** (OAuth Client ID / Secret) empty — DataHub registers the client automatically via DCR.
4. Click **Add**, then **Connect**. Claude opens a browser window for the DataHub OAuth flow.
5. Enter your DataHub domain when prompted (e.g. ``), sign in, and approve the connection.
:::note
Remote MCP connectors are configured via the Claude UI, not `claude_desktop_config.json` — that file is reserved for local stdio servers. For older Claude Desktop versions without remote MCP support, fall back to the [`mcp-remote` bridge with a PAT](#managed-mcp-server-usage).
:::
**Claude Code**
Claude Code supports OAuth-based remote MCP servers natively, including Dynamic Client Registration:
```bash
claude mcp add --transport http datahub https://mcp.datahub.com/mcp
```
The first time you invoke a DataHub tool, the server responds `401 Unauthorized`. Claude Code flags the server as needing authentication — run `/mcp` inside Claude Code and select **Authenticate** to complete the browser-based OAuth flow. Enter your DataHub domain when prompted; tokens are stored securely and refreshed automatically.
To use your tenant URL directly:
```bash
claude mcp add --transport http datahub https://.acryl.io/integrations/ai/mcp
```
**Cursor**
Cursor supports remote MCP servers via the `url` field and handles OAuth flows automatically.
1. Open **Cursor → Settings → Cursor Settings → Tools & MCP → New MCP Server** (or edit `~/.cursor/mcp.json` for global config / `.cursor/mcp.json` for project-scoped config).
2. Paste:
```json
{
"mcpServers": {
"datahub": {
"url": "https://mcp.datahub.com/mcp"
}
}
}
```
3. Save. Cursor triggers the OAuth flow in your browser using the `cursor://anysphere.cursor-mcp/oauth/callback` callback — enter your DataHub domain and sign in.
4. The MCP settings page should show a green dot and list the DataHub tools.
**ChatGPT**
Custom MCP connectors require **Developer Mode** and are available on **Plus, Pro, Team, Enterprise, and Edu** plans (not Free).
1. Enable Developer Mode: profile picture → **Settings → Connectors → Advanced**, then toggle **Developer mode** on. (On Team/Enterprise, an admin must first allow it under **Workspace Settings → Permissions & Roles → Connected Data → Developer mode / Create custom MCP connectors**.)
2. Still under **Settings → Connectors**, click **Add custom connector** (or **Create**).
3. Name: `DataHub`. MCP server URL: `https://mcp.datahub.com/mcp`. Authentication: **OAuth**.
4. Save. ChatGPT walks you through the OAuth flow — enter your DataHub domain and sign in. Pick which DataHub tools to enable for the connector.
**Snowflake Cortex Agents / Snowflake CoWork**
Snowflake exposes external MCP servers to Cortex Agents through an **API Integration** + **External MCP Server** object pair. Both are created via SQL by an `ACCOUNTADMIN`, then the resulting connector is granted to your agent users and added to an agent in Snowsight.
1. Create an API integration using DCR (run as `ACCOUNTADMIN`). `OAUTH_RESOURCE_URL` must be the origin only — no `/mcp` path — because that is the `resource` value DataHub advertises at `/.well-known/oauth-protected-resource`:
```sql
CREATE API INTEGRATION datahub_mcp_api_integration
API_PROVIDER = external_mcp
API_ALLOWED_PREFIXES = ('https://mcp.datahub.com')
API_USER_AUTHENTICATION = (
TYPE = OAUTH_DYNAMIC_CLIENT,
OAUTH_RESOURCE_URL = 'https://mcp.datahub.com'
)
ENABLED = TRUE;
```
2. Create the MCP server object. It is schema-level, so place it where your agent users can reach it:
```sql
CREATE EXTERNAL MCP SERVER ..datahub_mcp_server
WITH DISPLAY_NAME = 'DataHub'
URL = 'https://mcp.datahub.com/mcp'
API_INTEGRATION = datahub_mcp_api_integration;
```
3. Grant `USAGE` to every role that will use the agent. Without this the connector silently never appears — Snowflake hides unauthorized objects rather than raising an error:
```sql
GRANT USAGE ON EXTERNAL MCP SERVER ..datahub_mcp_server TO ROLE ;
GRANT USAGE ON INTEGRATION datahub_mcp_api_integration TO ROLE ;
```
4. In Snowsight, navigate to **AI & ML → Agents**, select your agent, choose **MCP Connectors**, and add the DataHub connector.
5. In Snowflake CoWork (formerly Snowflake Intelligence), open the sources panel, select **Connectors**, then **Connect** next to DataHub — Snowflake walks each user through the DataHub OAuth flow and reuses the credential on subsequent calls.
See the [Snowflake agent context guide](../../dev-guides/agent-context/snowflake.md) for end-to-end setup. To point at your tenant instead of the global endpoint, use `https://.acryl.io` for both `API_ALLOWED_PREFIXES` and `OAUTH_RESOURCE_URL`, and `https://.acryl.io/integrations/ai/mcp` for the MCP server `URL`.
**Databricks (Agent Bricks / Genie / AI Playground)**
Databricks registers external MCP servers as **Unity Catalog HTTP connections** behind a managed proxy. The connection then becomes available to Agent Bricks, Genie Code, and AI Playground at `https:///api/2.0/mcp/external/`.
1. In your workspace, open **Catalog → External Data → Connections → Create connection** (requires `CREATE CONNECTION` on the metastore).
2. Connection type: **HTTP**. Name: `datahub`. URL: `https://.acryl.io/integrations/ai/mcp` (your tenant URL is required here — the global `https://mcp.datahub.com/mcp` endpoint is not yet supported by Databricks).
3. Check the **Is MCP connection** box.
4. For **Auth type**, select **Dynamic Client Registration** (DCR per RFC 7591) — Databricks registers a client with DataHub automatically and stores refresh tokens.
5. Save. The first time the agent uses a DataHub tool, each operator authorizes DataHub via the workspace's managed OAuth flow.
:::note
DCR requires the workspace's **Managed MCP Servers** preview to be enabled and the workspace to be in a Model Serving–supported region. The HTTP connection must use streamable HTTP transport (DataHub's `/mcp` endpoint does).
:::
See the [Databricks Agent Bricks](../../dev-guides/agent-context/databricks-agent-bricks.md) and [Databricks Genie](../../dev-guides/agent-context/databricks-genie-code.md) guides for end-to-end agent setup.
### When to Use PAT Auth Instead
OAuth + DCR is the recommended path for **interactive** clients where a human signs in. Stick with personal access tokens (described below) for:
- **Service accounts** and unattended agentic workflows (CI/CD, scheduled jobs)
- **DataHub Cloud < v1.0.2** or self-hosted DataHub Core
- MCP clients that don't yet implement OAuth-based remote MCP
# Connecting to Managed MCP Server with Access Tokens
For DataHub Cloud v0.3.12+, you can connect directly to the hosted MCP server endpoint — no local installation required.
:::info
The managed MCP server endpoint is only available with DataHub Cloud v0.3.12+. For DataHub Core and older versions of DataHub Cloud, [self-host the MCP server](#self-hosted-mcp-server-usage) instead.
:::
:::note Streamable HTTP Only
DataHub's managed MCP server uses the [streamable HTTP transport](https://modelcontextprotocol.io/docs/concepts/transports). Some older MCP clients (e.g. chatgpt.com) may only support the deprecated SSE transport — for those, use [mcp-remote](https://github.com/geelen/mcp-remote) to bridge the gap.
:::
### Prerequisites
- The URL of your DataHub Cloud instance, e.g. `https://.acryl.io`
- A [personal access token](../../authentication/personal-access-tokens.md)
### Connecting & Authenticating
Your managed MCP server URL is:
```
https://.acryl.io/integrations/ai/mcp/
```
Authenticate by passing your token as a Bearer token in the `Authorization` header:
```
Authorization: Bearer
```
:::caution The `?token=` query parameter no longer works
Requests that include a `token` query parameter get a `400 Bad Request`. A token in the URL
shows up in proxy and CDN logs, in browser history, and in `Referer` headers. If your MCP
client can't set headers itself, use `mcp-remote` with `--header` (shown below) and it will
send the header for you.
:::
**On-Premises DataHub Cloud**
For on-premises DataHub Cloud, replace `.acryl.io` with your DataHub FQDN, e.g. `https://datahub.example.com/integrations/ai/mcp/`.
### Configure
**Claude Desktop**
1. Open your `claude_desktop_config.json` file. You can find it by navigating to Claude Desktop -> Settings -> Developer -> Edit Config.
1. Update the file to include the following content. Be sure to replace `` and `` with your own values.
```json
{
"mcpServers": {
"datahub-cloud": {
"command": "npx",
"args": [
"-y",
"mcp-remote",
"https://.acryl.io/integrations/ai/mcp/",
"--header",
"Authorization: Bearer "
]
}
}
}
```
**Claude Code**
Claude Code natively supports streamable HTTP, so no proxy or additional dependencies are needed.
Run the following command, replacing `` and `` with your own values:
```bash
claude mcp add --transport http datahub-cloud \
"https://.acryl.io/integrations/ai/mcp/" \
--header "Authorization: Bearer "
```
For a detailed walkthrough, see the [Claude integration guide](../../dev-guides/agent-context/claude.md).
**Cursor**
1. Make sure you're using Cursor v1.1 or newer.
2. Navigate to Cursor -> Settings -> Cursor Settings -> MCP -> add a new MCP server.
3. Enter the following into the file, replacing `` and `` with your own values:
```json
{
"mcpServers": {
"datahub-cloud": {
"url": "https://.acryl.io/integrations/ai/mcp/",
"headers": {
"Authorization": "Bearer "
}
}
}
}
```
4. Once you've saved the file, confirm that the MCP settings page shows a green dot and the DataHub tools listed.
For a detailed walkthrough, see the [Cursor integration guide](../../dev-guides/agent-context/cursor.md).
**Gemini CLI**
```bash
gemini mcp add --transport http \
--header "Authorization: Bearer " \
datahub-cloud \
"https://.acryl.io/integrations/ai/mcp/"
```
For a detailed walkthrough, see the [Gemini CLI integration guide](../../dev-guides/agent-context/gemini-cli.md).
**Other**
Most AI tools support remote MCP servers. Provide the hosted MCP server URL:
```
https://.acryl.io/integrations/ai/mcp/
```
with the header `Authorization: Bearer `.
Make sure authentication mode is _not_ set to "OAuth" (if applicable).
For clients that don't yet support remote MCP servers, use `mcp-remote`:
- Command: `npx`
- Args: `-y mcp-remote https://.acryl.io/integrations/ai/mcp/ --header "Authorization: Bearer "`
## Service Accounts for Agentic Workflows
For autonomous or agentic workflows — such as CI/CD pipelines, scheduled scripts, or AI agents that run without human intervention — we recommend using a [Service Account](service-accounts.md) rather than a personal access token.
**Setup:**
1. Create a service account in **Settings > Users & Groups > Service Accounts**
2. Generate an access token for the service account
3. Use that token when configuring the MCP server connection
**Scoping search with a Default View** _(DataHub Cloud v1.0.0+ / DataHub Core v1.6.0+)_**:**
Service accounts support a **Default View** that restricts which data assets the MCP server searches across. This is configured directly from the Service Accounts management screen (the "Default View" column). When set, all searches performed by the MCP server using that service account's token will be scoped to the selected view — useful for limiting an agent's visibility to a specific domain, platform, or team's assets.
:::tip
Combine a service account with a default view to create a tightly-scoped MCP connection — for example, a "Snowflake Production" view for an agent that only needs access to production Snowflake datasets.
:::
## Self-Hosted MCP Server Usage
Run the [open-source MCP server](https://github.com/acryldata/mcp-server-datahub) locally. This works with any DataHub instance — both DataHub Core and DataHub Cloud.
### Prerequisites
1. Install [`uv`](https://github.com/astral-sh/uv):
```bash
# macOS and Linux
curl -LsSf https://astral.sh/uv/install.sh | sh
```
2. The URL of your DataHub instance's GMS endpoint, e.g. `http://localhost:8080` or `https://.acryl.io`
3. A [personal access token](../../authentication/personal-access-tokens.md)
### Connecting & Authenticating
The self-hosted server authenticates via environment variables:
- `DATAHUB_GMS_URL` — your DataHub GMS endpoint
- `DATAHUB_GMS_TOKEN` — your personal access token
These are passed to the `mcp-server-datahub` process at startup (see configuration examples below).
### Configure
**Claude Desktop**
1. Run `which uvx` to find the full path to the `uvx` command.
1. Open your `claude_desktop_config.json` file. You can find it by navigating to Claude Desktop -> Settings -> Developer -> Edit Config.
1. Update the file to include the following content. Be sure to replace the placeholder values.
```js
{
"mcpServers": {
"datahub": {
"command": "", // e.g. /Users/hsheth/.local/bin/uvx
"args": ["mcp-server-datahub@latest"],
"env": {
"DATAHUB_GMS_URL": "",
"DATAHUB_GMS_TOKEN": ""
}
}
}
}
```
**Claude Code**
Run the following command, replacing the placeholder values:
```bash
claude mcp add datahub \
-e DATAHUB_GMS_URL="" \
-e DATAHUB_GMS_TOKEN="" \
-- uvx mcp-server-datahub@latest
```
For a detailed walkthrough, see the [Claude integration guide](../../dev-guides/agent-context/claude.md).
**Cursor**
1. Navigate to Cursor -> Settings -> Cursor Settings -> MCP -> add a new MCP server.
2. Enter the following into the file, replacing the placeholder values:
```json
{
"mcpServers": {
"datahub": {
"command": "uvx",
"args": ["mcp-server-datahub@latest"],
"env": {
"DATAHUB_GMS_URL": "",
"DATAHUB_GMS_TOKEN": ""
}
}
}
}
```
3. Once you've saved the file, confirm that the MCP settings page shows a green dot and the DataHub tools listed.
For a detailed walkthrough, see the [Cursor integration guide](../../dev-guides/agent-context/cursor.md).
**Gemini CLI**
```bash
gemini mcp add \
-e DATAHUB_GMS_URL="" \
-e DATAHUB_GMS_TOKEN="" \
datahub \
uvx mcp-server-datahub@latest
```
For a detailed walkthrough, see the [Gemini CLI integration guide](../../dev-guides/agent-context/gemini-cli.md).
**Other**
For other AI tools, provide the following configuration:
- Command: `uvx`
- Args: `mcp-server-datahub@latest`
- Env:
- `DATAHUB_GMS_URL`: ``
- `DATAHUB_GMS_TOKEN`: ``
### Troubleshooting
#### `spawn uvx ENOENT`
The full stack trace might look like this:
```
2025-04-08T19:58:16.593Z [datahub] [error] spawn uvx ENOENT {"stack":"Error: spawn uvx ENOENT\n at ChildProcess._handle.onexit (node:internal/child_process:285:19)\n at onErrorNT (node:internal/child_process:483:16)\n at process.processTicksAndRejections (node:internal/process/task_queues:82:21)"}
```
Solution: Replace the `uvx` bit of the command with the output of `which uvx`.